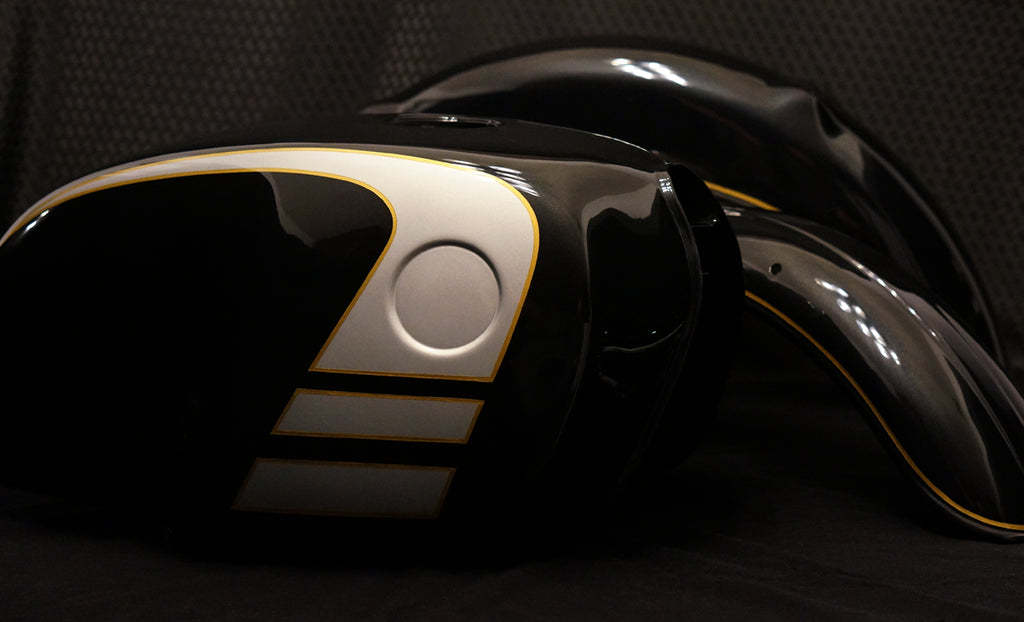
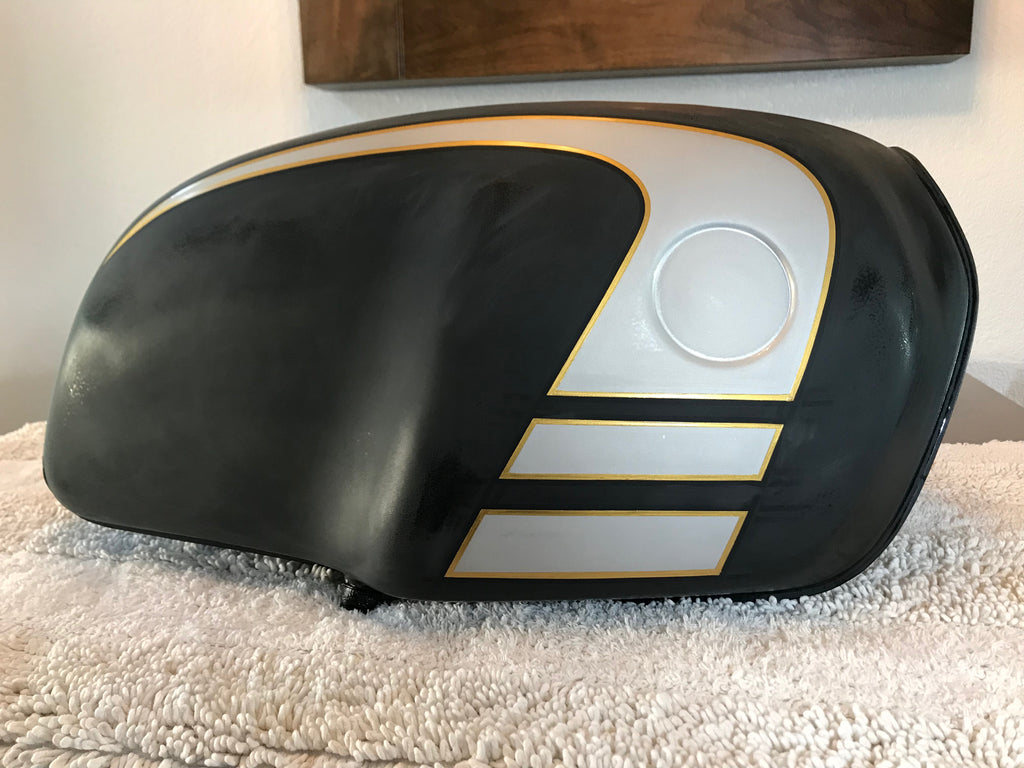
1977 BMW R100/7 Custom Paint Project
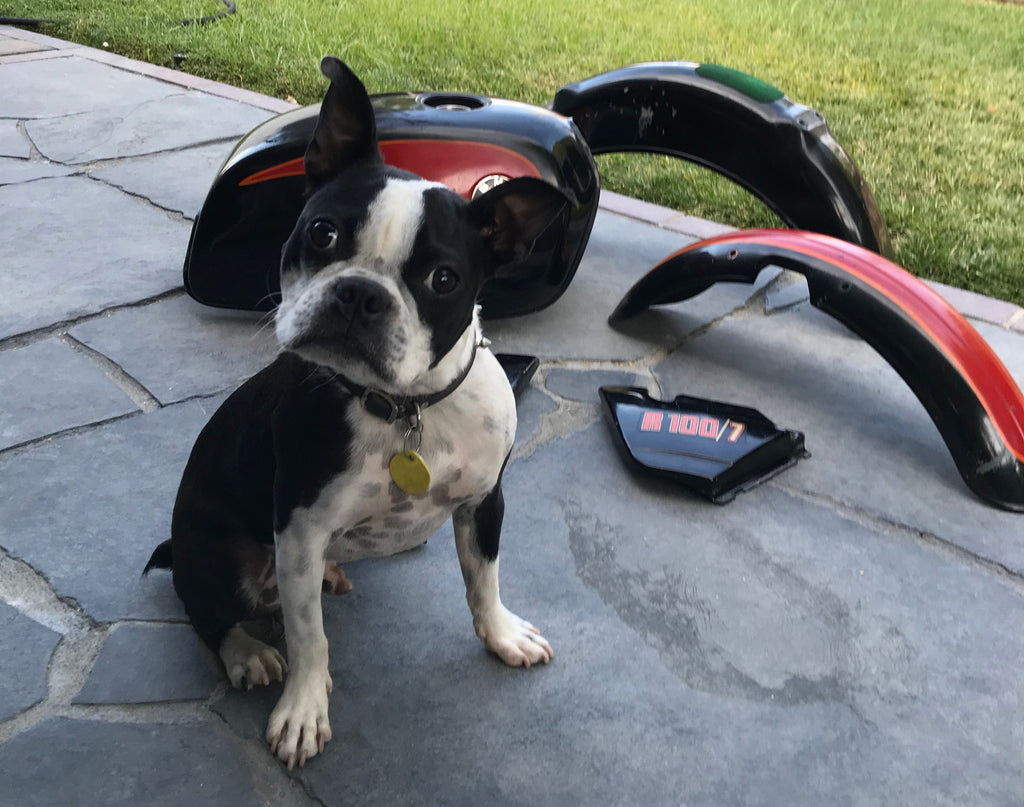
The customer, a young entrepreneur and hard worker in San Francisco, made the drive to Sacramento (where i'm located) to drop off the body parts to his '77 R100 project. The original owner painted them himself which is something I see a lot. He told me the original owner regretted painting them because, well frankly, they were ugly! Better leave the paint work to the professionals. This is why i'm writing these articles. I'd like to share what I know- pay if forward if you will. I became successful at painting because of the help others gave me. Anyway, I hope you enjoy the article. Buster (my Boston Terrier sidekick) was there the whole time and watched everything go down!
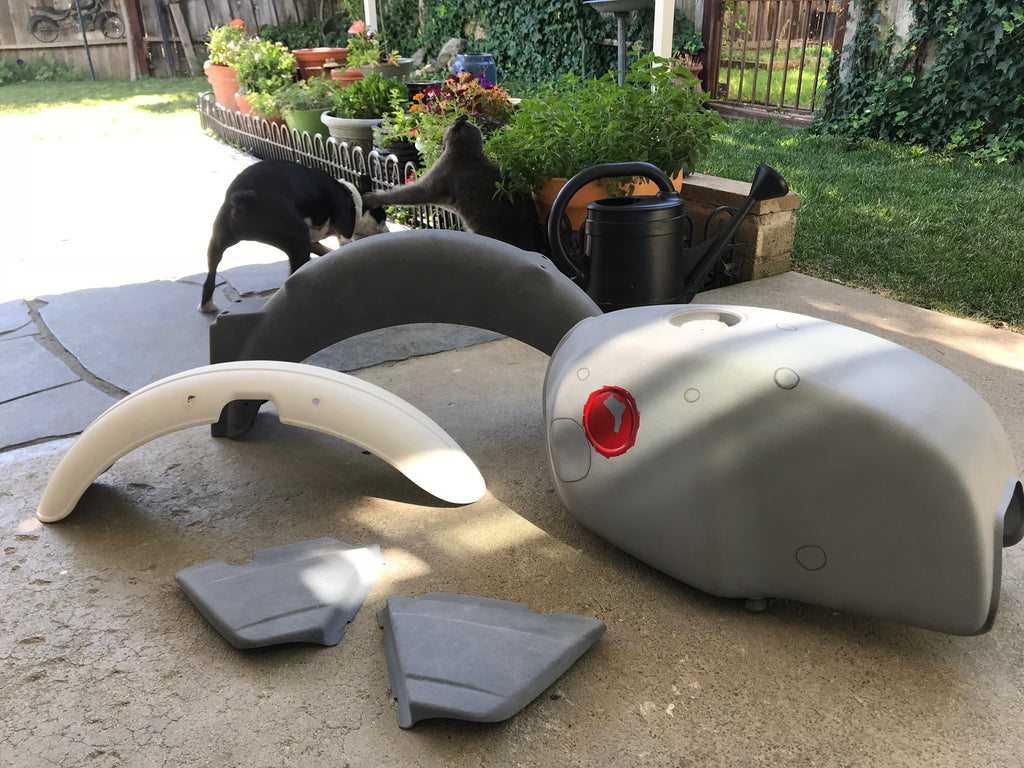
Here are the parts back from the sand blasters. The fiberglass pieces are blasted with a lighter material so it isn't so damaging. A lot of the time with these old fiberglass parts, they will have a lot of cracking and they are very brittle. So be careful when you repair them. As you can see, I've circled all of the little dents and dings in the tank with washable marker. These circles act as a guide when sanding down the bondo. If you are perceptive, you can also see Buster getting beat up by Polly- a normal occurance at my shop!
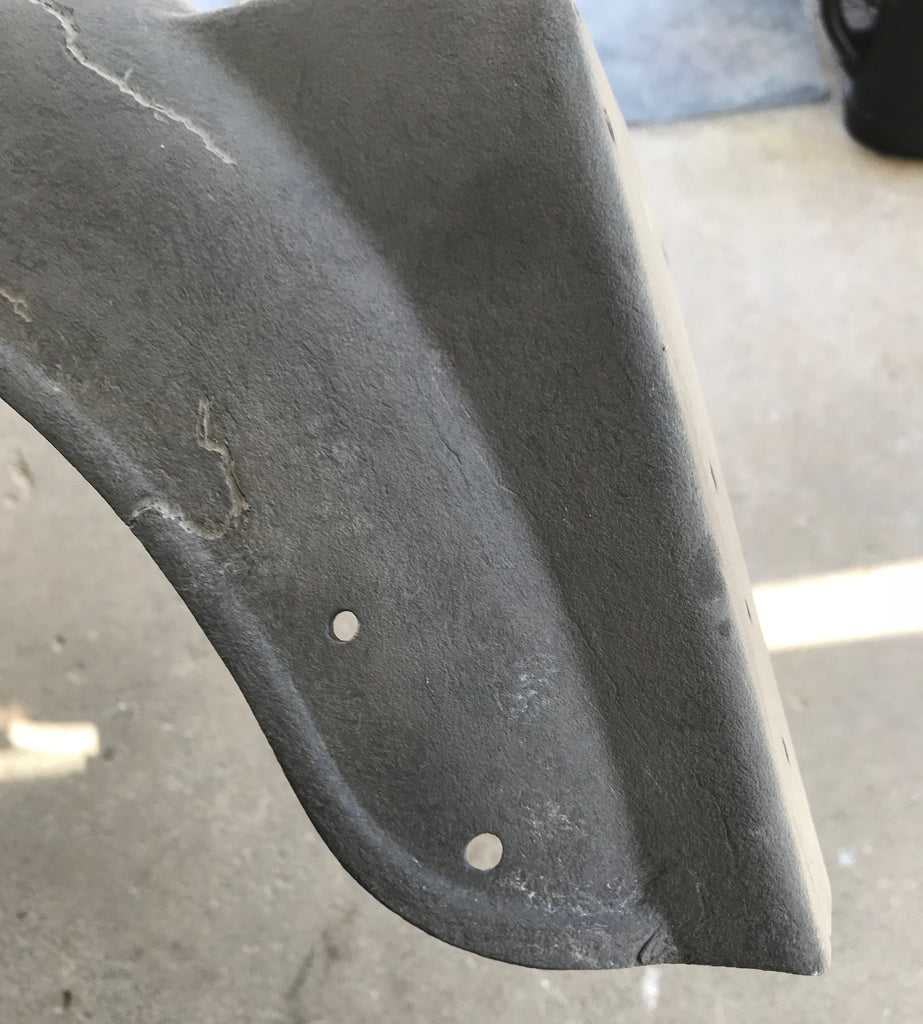
Here is a close up of the rear fender. What you're seeing is the final finish left by the sand blasting. It is very rough. You could spend your time trying to sand it down smooth before you primer but I feel like you are taking off too much fiberglass by doing that. I put it right in the booth and cover it with 3 solid coats of primer. Prior to the primer, though, I need to fix all of these cracks and holes. The customer wanted the holes gone so I will fill them up with fiberglass resin and cloth. Its super easy! Then you can see that I used a dremel tool to etch out the cracks on the fiberglass. I will then use a plastic repair compound made by 3M to cover the cracks. Its expensive stuff but it works great. Sand/cure time is around 30 minutes as opposed to JB Weld which is 4 to 8 hours depending on which type you use.
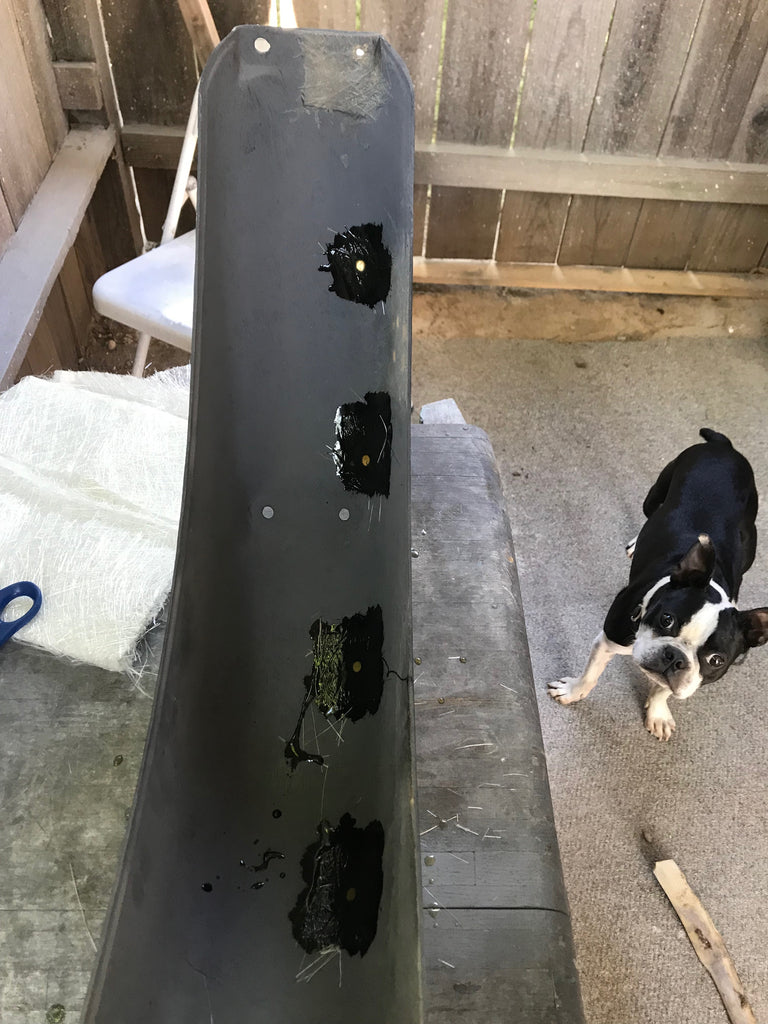
Here you can see the fiberglass applied to the inside of the fender. There is cloth underneath in between the fiberglass and newly applied resin. Be sure to mix the fiber glass resin properly. By that I mean, add in the correct amount of hardener. Too little, the fiberglass will not dry properly and be completely useless. Too much and it will harden before you get a chance to apply it! Read the instructions!!
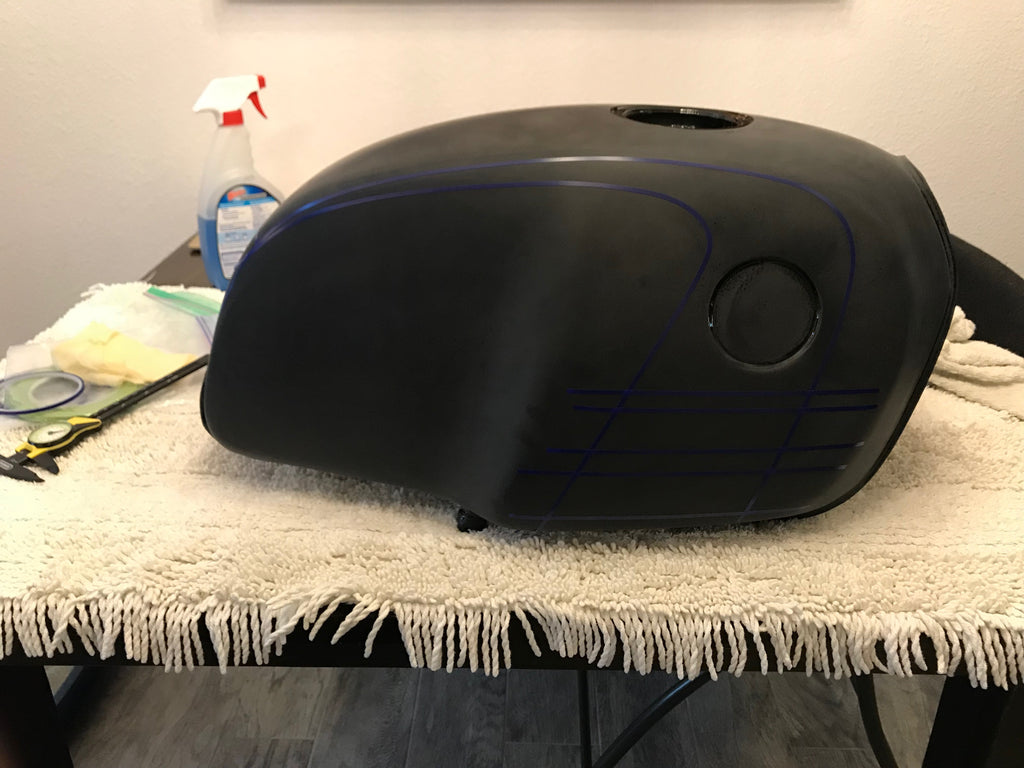
Here I've jumped all the way into the base coat paint. I covered a lot of the body work process in the previous article I wrote- Green Machine Toaster Tank. So what you see here is the gas tank that has base coat (metallic black), clear coat that has been sanded down with 800 grit, and pin striping tape that outlines the design i'm going to paint in. 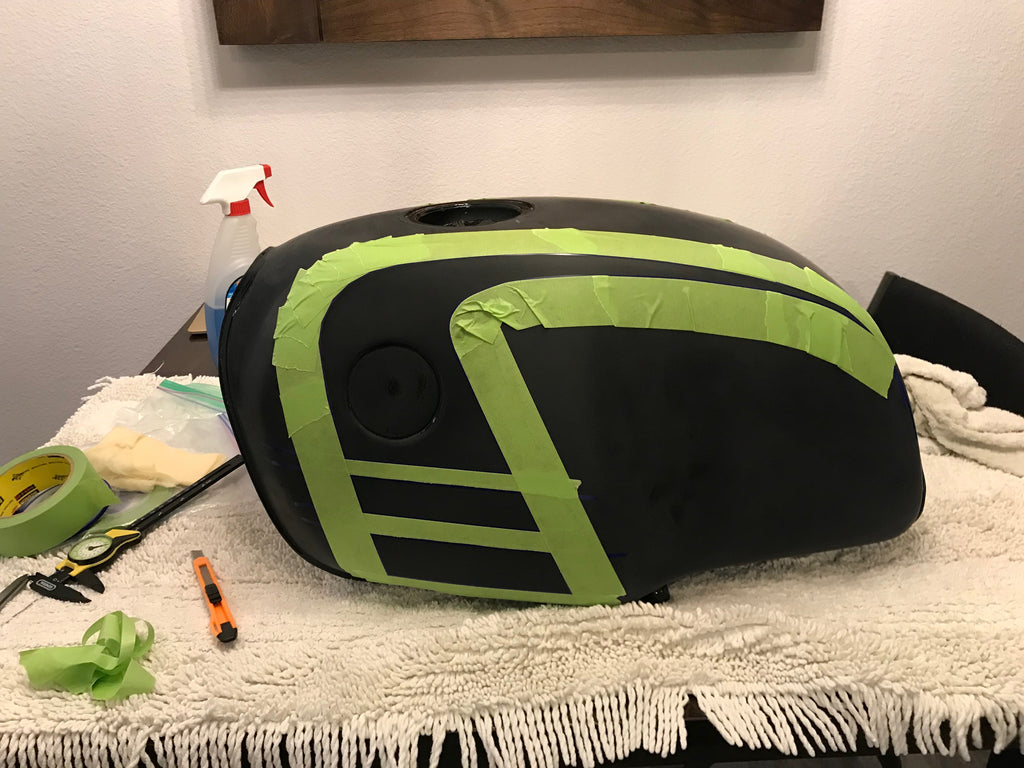
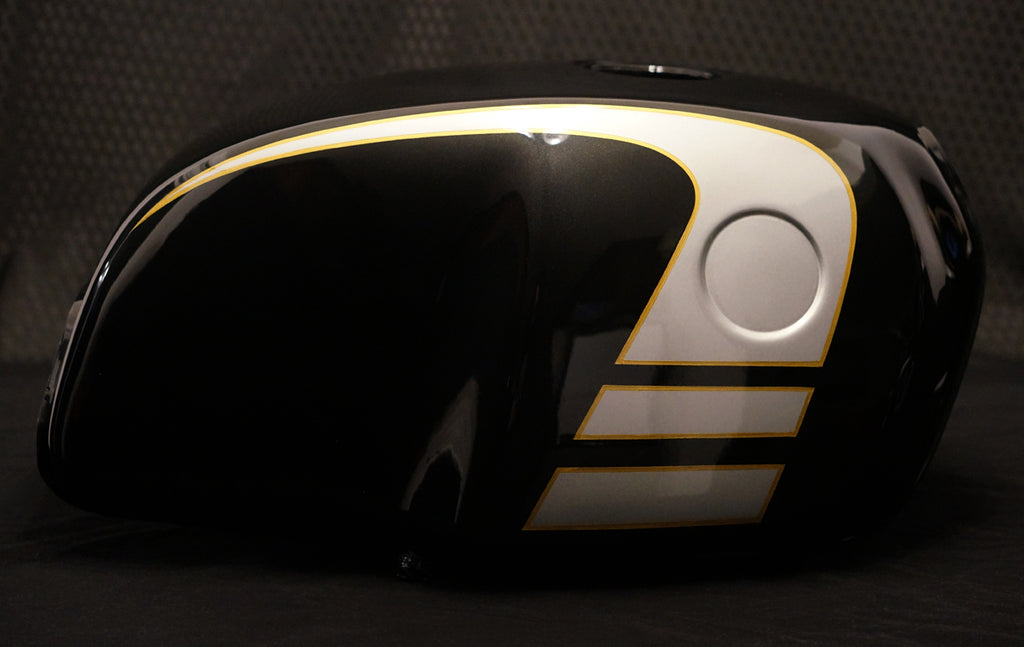
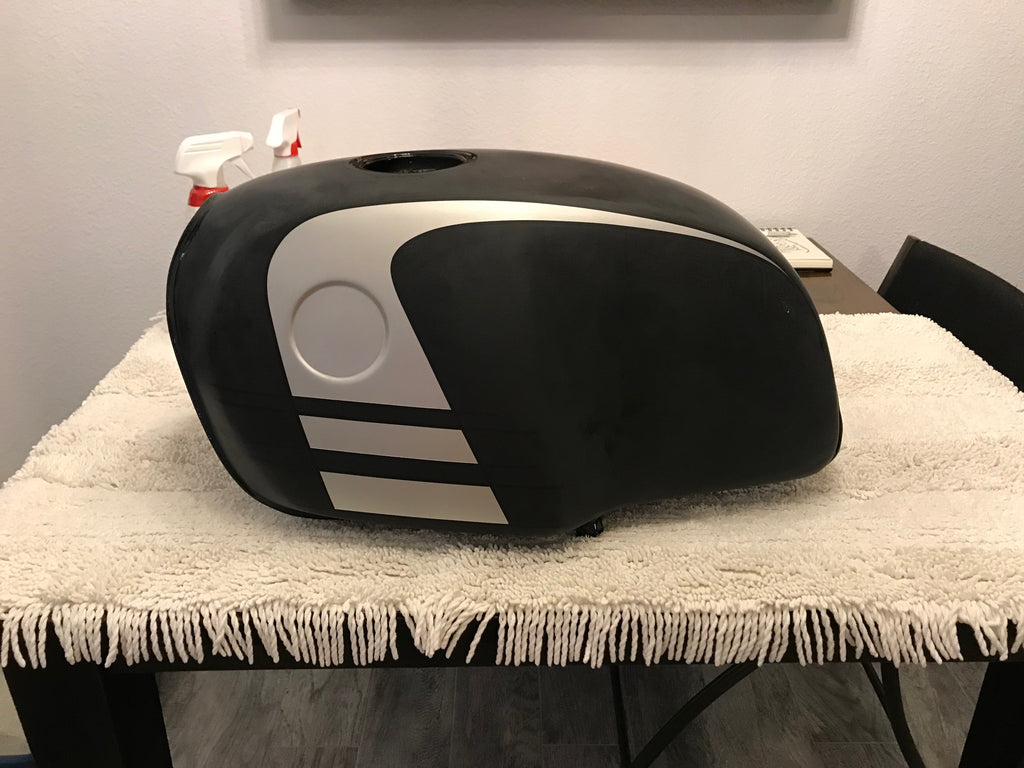
This is the tank completed with the two tone paint. I pulled off all the tape and masking materials and you are seeing the silver base coat paint (raw) on top of the sanded down clear coat. Next step is to clean it up and apply another inter-coat clear.
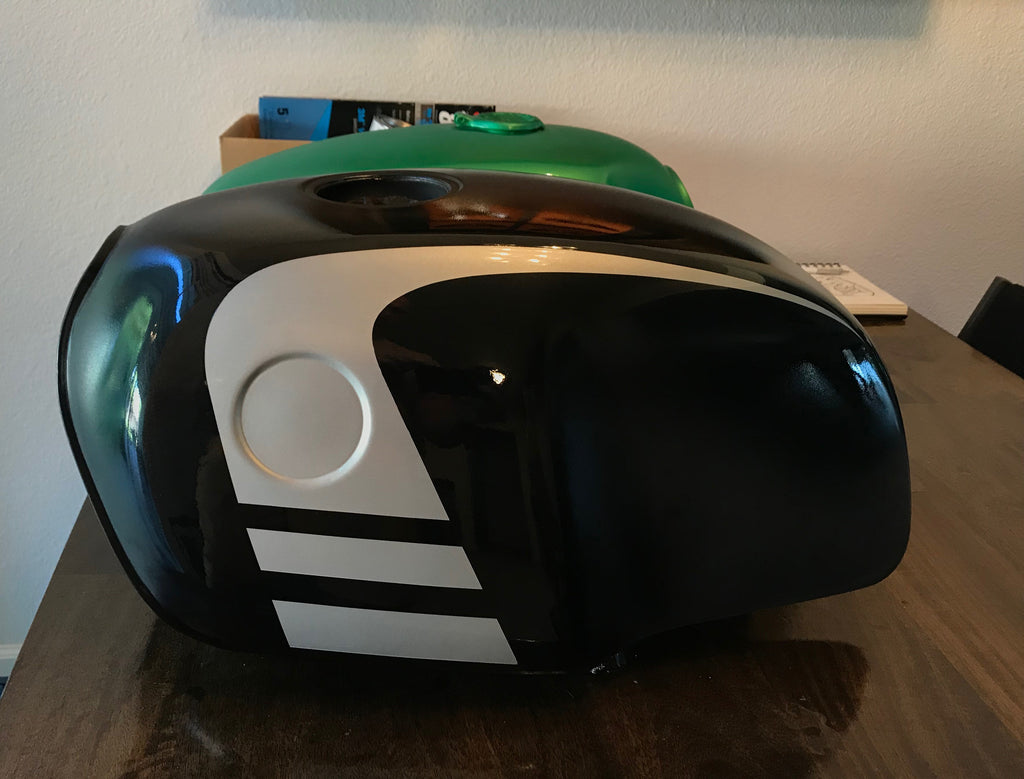
Here is the gas tank shown with another clear coat only over the silver. I can partially clear the tank because I already have clear coat on the rest of the tank. When I go to sand it down. The new clear simply blends into the old clear making a pretty smooth layer for the final coats of clear.
This is the pin striping step. First I sanded down everything with 800 grit sand paper. I made sure to especially sand around the edges of the two tone because of the height difference in paint. The silver paint sticks up higher because its sitting on top of the black and clear coat. I hope that makes sense. I sand it down so its smooth and theres no bump there. Be careful on this step not to sand into the silver paint. This will require you to redo the silver layer or touch it up. Either way, if you mess up you will have to go through that entire masking process again. You can see at this step that I have the pin striping tape all laid out for pin striping paint. I don't do pin striping by hand. If I did, it'd look like a 3rd grader did it. I mask off where the line goes and simply paint in between it. The result is a perfectly straight line that most hand pin stripers are jealous of.
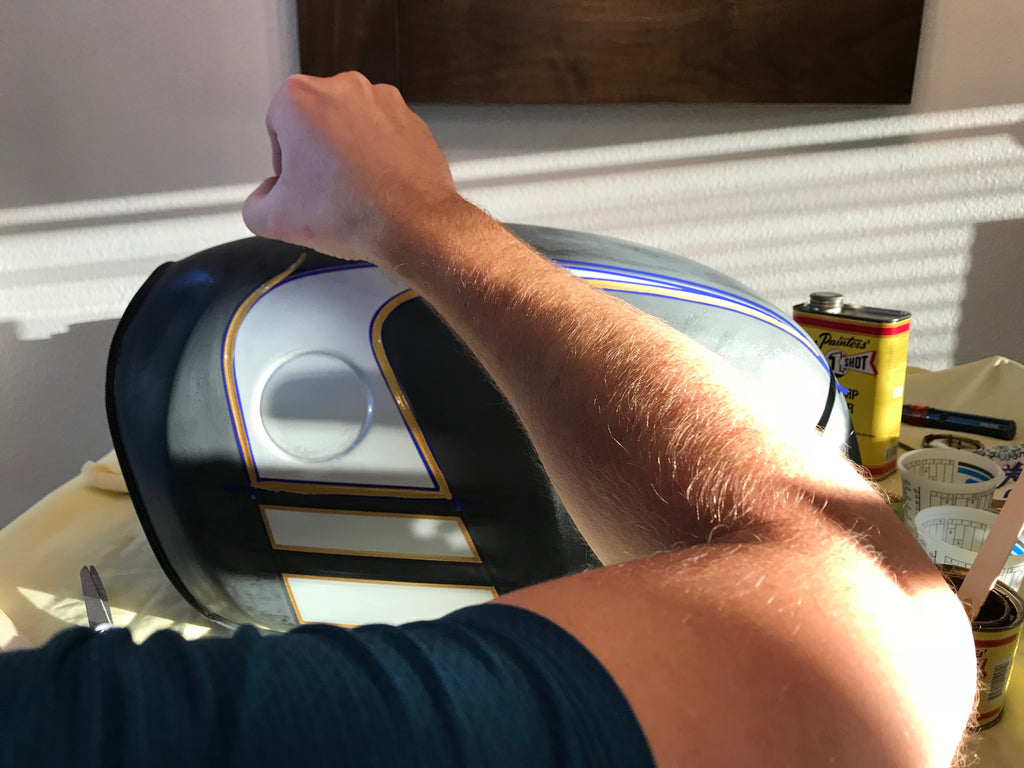
Here is an action shot of me applying the gold pin striping paint. Gold and other metallic pin striping paints can be a little tricky to apply on dark colors because they don't cover very well especially if you painting over two colors (silver and black). Because of this on most of the tank, I did two coats of pin striping gold. I made sure to use the correct reducers as well because they can help when you're applying a lot of paint.
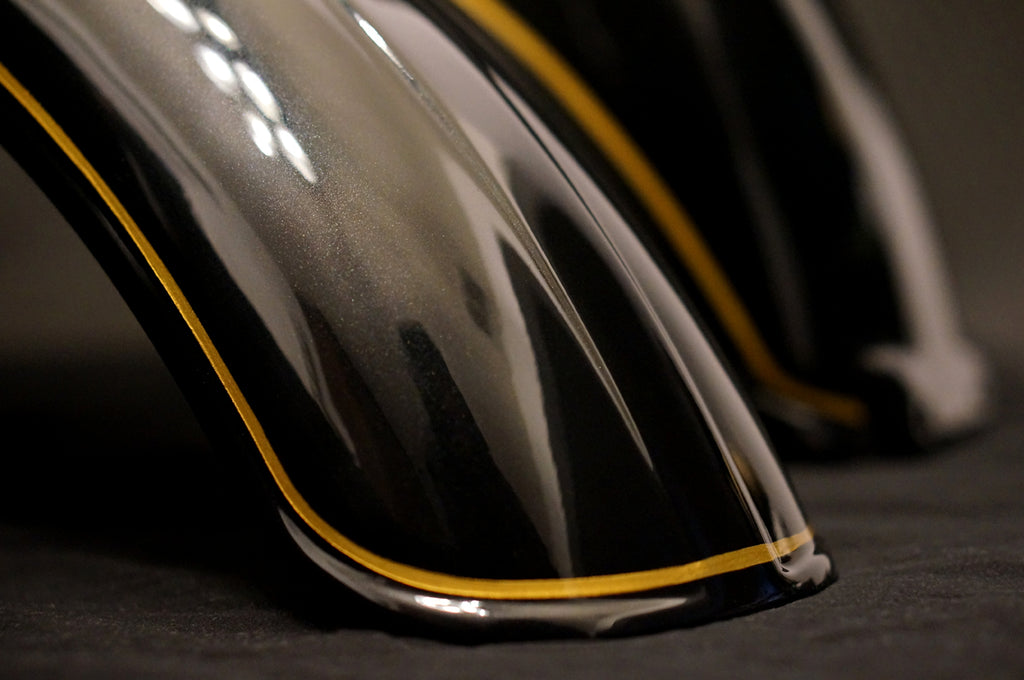
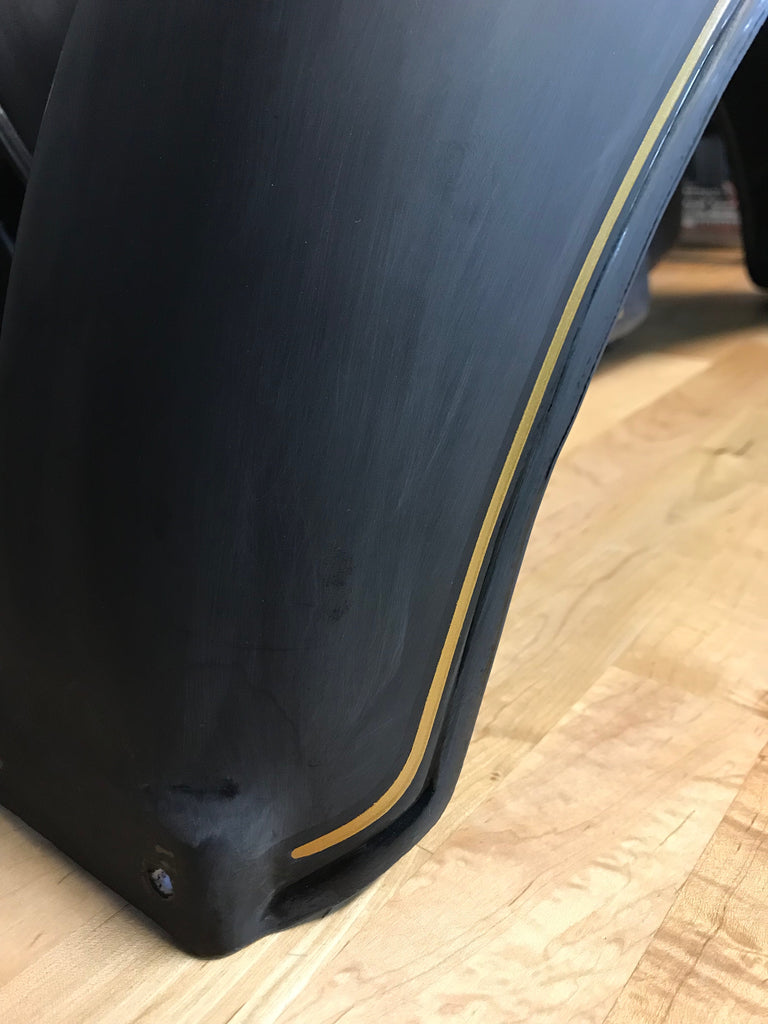
Here you are seeing the dried gold pin striping paint on top of the sanded down clear coat. Looks pretty good! Next step is to apply another inter coat clear just over the pin striping line. This buries the line in clear coat so that the bump isn't noticeable on the final finish.
Here is the tank with the dried pin striping. What you don't see from here on out is the inter coat clear applied to the pin striping. Once the inter coat clear is applied, the whole tank gets sanded down again for the final clear coat. 